
We put our nails through a lot. Gel manicures, acrylics, harsh weather, and even just everyday life can leave our nails weak, brittle, and damaged. Healthy nails are important for the overall appearance of your hands, and strong nails can definitely boost your confidence.
That’s where IBX comes in. IBX is a revolutionary nail strengthening system designed to penetrate the nail plate and fuse the damaged layers together. It’s not just a surface treatment; it works from within to repair and protect your nails. The IBX nail treatment can be used on its own to improve nail health or as a protective layer under gel polish.
Want to learn how to get stronger, healthier nails with an IBX nail treatment at home? This article will guide you through the process, step-by-step.
The IBX System: Repair and Strengthen
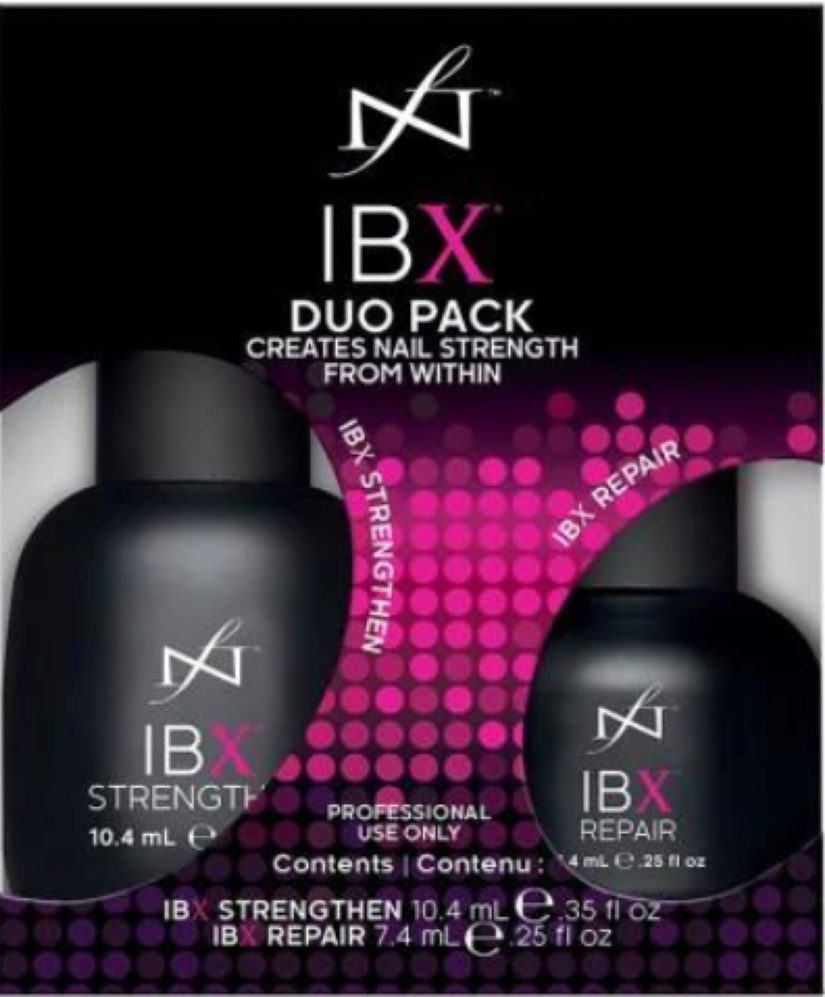
The IBX system isn’t just one product. It’s actually a two-part system designed to bring your nails back to life.
IBX Repair: The First Responder
Think of IBX Repair as an emergency treatment for nails that are really struggling. It’s designed to target severe damage, acting like a “double-sided tape” to mend splits, peeling, and those deep ridges that can make your nails look and feel awful. You apply IBX Repair directly to the areas that need the most help.
The formula penetrates into the nail to seal damaged areas together. That means the nail plate is ready for IBX Strengthen.
IBX Strengthen: Building Armor
Once you’ve addressed the immediate damage, it’s time to build some resilience. That’s where IBX Strengthen comes in. It’s designed to toughen and protect the entire nail plate, reinforcing it from within. This improves flexibility and helps prevent future damage. Unlike IBX Repair, you apply IBX Strengthen to the entire nail surface.
Working Together for the Best Results
While you can use IBX Strengthen on its own for maintenance, the best results usually come from using both products together. IBX Repair tackles the immediate problems, while IBX Strengthen provides long-term protection. It’s a winning combination for healthy, beautiful nails.
Preparing Your Nails for IBX Treatment
Listen, if you’re going to do an IBX treatment at home, you have to prep your nails right. Think of it like painting a wall—the smoother and cleaner the surface, the better the paint sticks. Same deal here! If your nails are oily or have any residue on them, the IBX just won’t absorb properly.
Here’s how I prep my nails before an IBX treatment:
- File and shape your nails. Get them looking how you want them!
- Gently push back your cuticles. If you’re comfortable trimming them, go for it. It’s optional, but I think it helps.
- This is key: Clean your nail plates really well. Use a lint-free wipe and some rubbing alcohol or a nail cleanser. Get rid of everything.
- Make sure your nails are completely dry before you move on to the next step.
Seriously, don’t skip the prep. It makes a huge difference!
How to do an IBX treatment at home
Here’s how to get started with an IBX treatment at home:
Applying IBX Repair (if needed)
If you have some seriously damaged areas on your nail, you’ll want to start with IBX Repair. Use a tiny brush or applicator to apply a thin layer of IBX Repair to those areas only. Don’t put it on healthy parts of your nail.
Then, it’s time for heat. Use a heat lamp or a hairdryer to warm up the treated nail. Check your product instructions for the right amount of time. Heat is important, because it helps the product soak down into the nail plate.
After heating, use a lint-free wipe to blot away any extra product, and cure your nail under an LED or UV lamp for the time recommended on the product instructions.
Applying IBX Strengthen
Now it’s time for IBX Strengthen. Apply a thin layer to the whole nail, but don’t get any on your cuticle.
Again, use heat for the amount of time recommended in your product instructions. Then blot and cure.
Second Application (Optional)
If your nails are in really rough shape, it can be helpful to repeat the IBX Strengthen process.
Post-Treatment Care and Maintenance
Listen, IBX is amazing, but it’s not magic. You can’t just do one treatment and expect perfect nails forever. It’s more like a workout routine for your nails – you gotta keep at it to see the best results!
Here’s how to keep your nails looking and feeling their best after your IBX treatment:
- Cuticle oil, cuticle oil, cuticle oil! Seriously, slather that stuff on. Hydrated nails are happy nails.
- Be gentle. Harsh chemicals and too much water are your nails’ enemies. Wear gloves when you’re cleaning or gardening. Think of your nails as delicate little flowers.
- Keep up with your treatments. Depending on how damaged your nails were to start with, you’ll want to reapply IBX Strengthen every 1-3 weeks.
How will you know when it’s time for another treatment? Keep an eye out for these signs:
- Brittleness
- Peeling
- Splitting
- Ridges
- Slow growth
Basically, if your nails start looking sad again, potentially indicating indicating dystrophic nails, it’s time for another IBX boost!
Using IBX is a great way to repair and strengthen your nails. It can restore nails damaged by gel manicures, acrylics, or just everyday wear and tear. It also helps prevent future damage by making your nails stronger and more resilient.
To get the best results, you’ll want to make sure you follow the instructions for application and maintenance carefully.
If you’re looking for a way to get healthier, more beautiful nails without spending a fortune at the salon, give IBX a try at home!